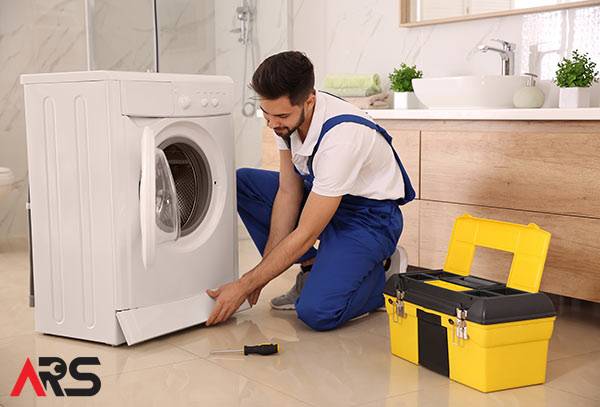
Is your Whirlpool washing machine not draining properly? It’s probably time to replace the draining pump. Just follow these easy steps to remove and replace the draining pump and your washing machine will be up and good to do go for your next laundry cycle.
Caution: Remember to always unplug your washing machine before making any repairs.
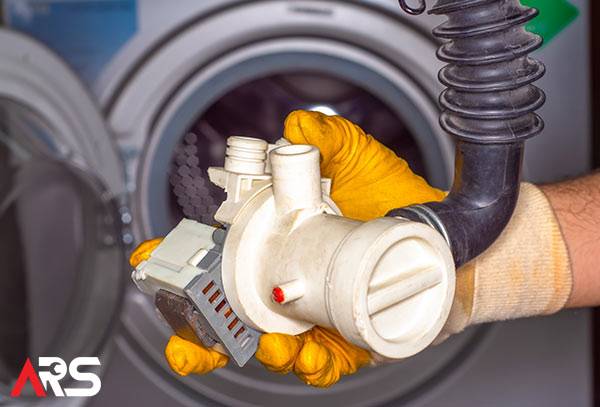
Removal of Old Drain Pump
- First step is to move the control panel out of the way. With a screwdriver, remove the screws bound on both ends on the front panel. In some Whirlpool models, the screws might be located in the rear panel or they might be covered by plastic end caps. If your model has screws covered by plastic end caps, pull the plastic end caps off to access the screws. Then remove both screws.
- Once both screws are removed, rotate the panel up. The panel turns up.
- Unplug the wire connector.
- Using a flat head screwdriver snap out the sprinklers.
- Tilt the cabinet towards you, slide forward and remove the cabinet.
- Place the cabinet aside. This is a heavy job, so you might need another person for an extra set of hands.
- Unsnap the retainer clips holding the old drain pump in place.
- Set the retainer clips aside.
- Wiggle the pump off of the motor shaft. The old drain pump comes off.
- Be prepared for water to spill out of the hoses, so place a towel underneath the old drain pump.
- Using pliers release the clamps to remove the two hoses from the drain pump. A little water is released.
- Set the old drain pump aside.
Installing the New Drain Pump
- Slide the hoses over the ports of the new pump and secure them with the clamps using pliers.
- Align the motor shaft with the new pump and slide the new pump on.
- Reinstall both retainer clips by snapping them back on.
- Reinstall the cabinet.
- The front edge of the cabinet slides underneath the base frame. Use your foot to push it into position.
- Align the two notches in each side of the cabinet, with the tabs on each side of the base frame.
- Now manoeuvre the cabinet to match up with the rear panel.
- Reinstall the sprinklers with a flat head screwdriver.
- Attach the wire connector.
- Rotate the control panel down and back into its normal position and reinstall the screws on both sides.
- If applicable to your model, replace the plastic end caps by aligning the tab with the slot at the bottom and snapping the cap back into position.
- Plug in your Whirlpool washing machine to test to see if it’s working.
If all else fails and you’re still not able to fix your Whirlpool washing machine problems, give ARS Appliances Repair Service a call at 1-866-415-3937 and we’ll be happy to come check it out and give you a repair quote. We will help you get your washing machine up and running in no time.